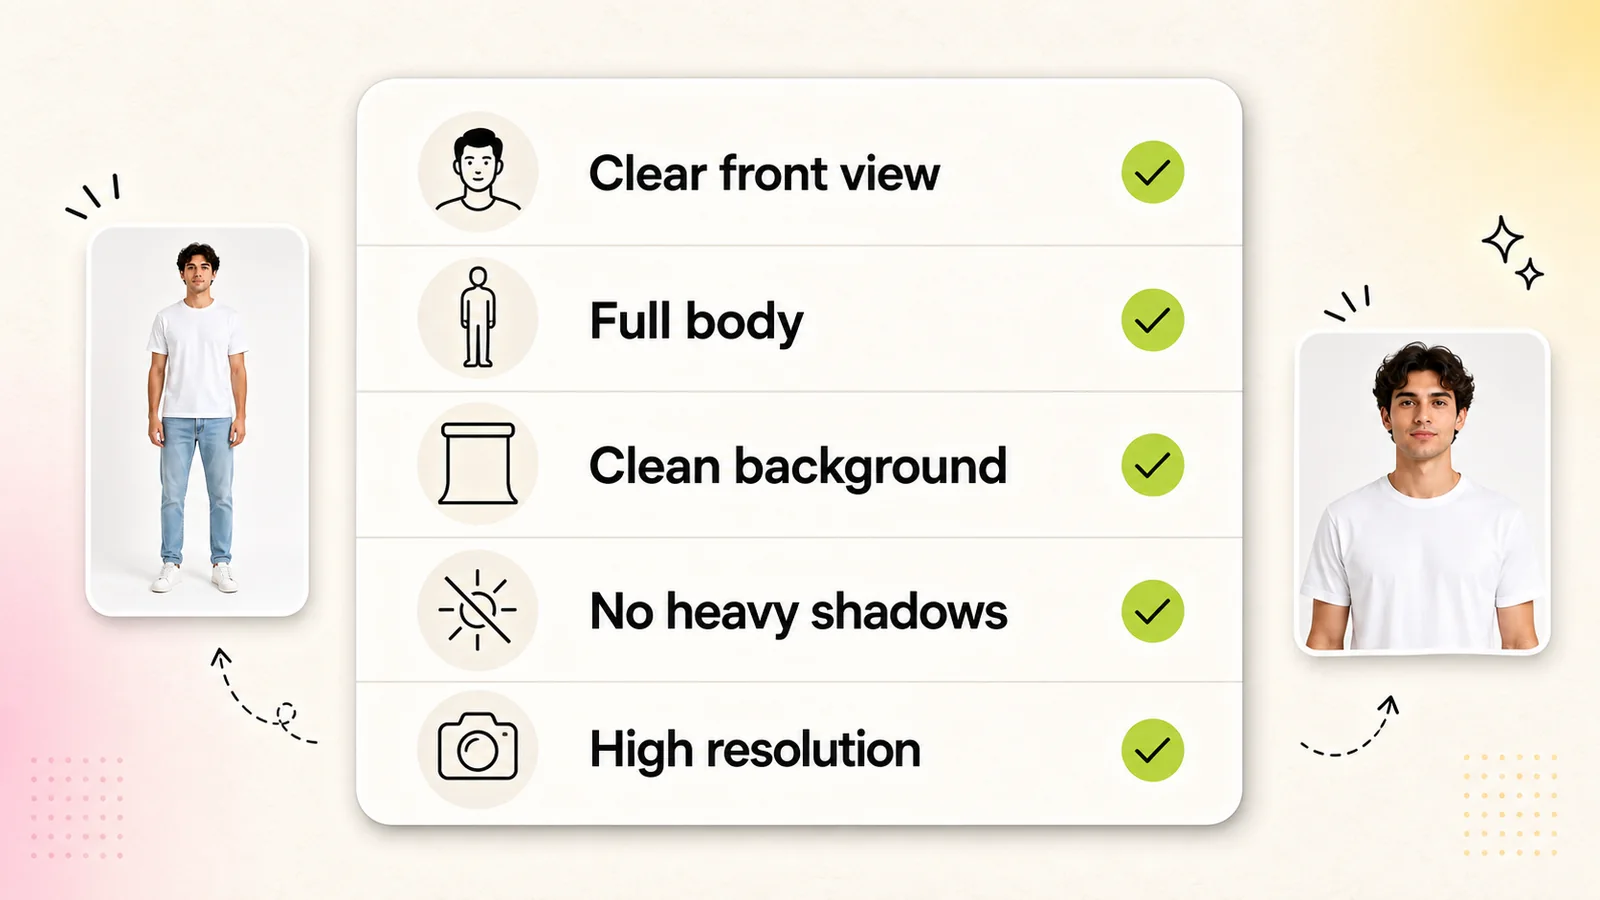
Upload requirements checklist
Check the basics before upload: front view, full body, clean background, no heavy shadows, and high resolution.

Authentication is not available in local preview. Please test sign-in or email verification on the deployed site.
Photo Guide
A clear garment image and a suitable model photo give the AI more useful visual information. Use this checklist before you upload.
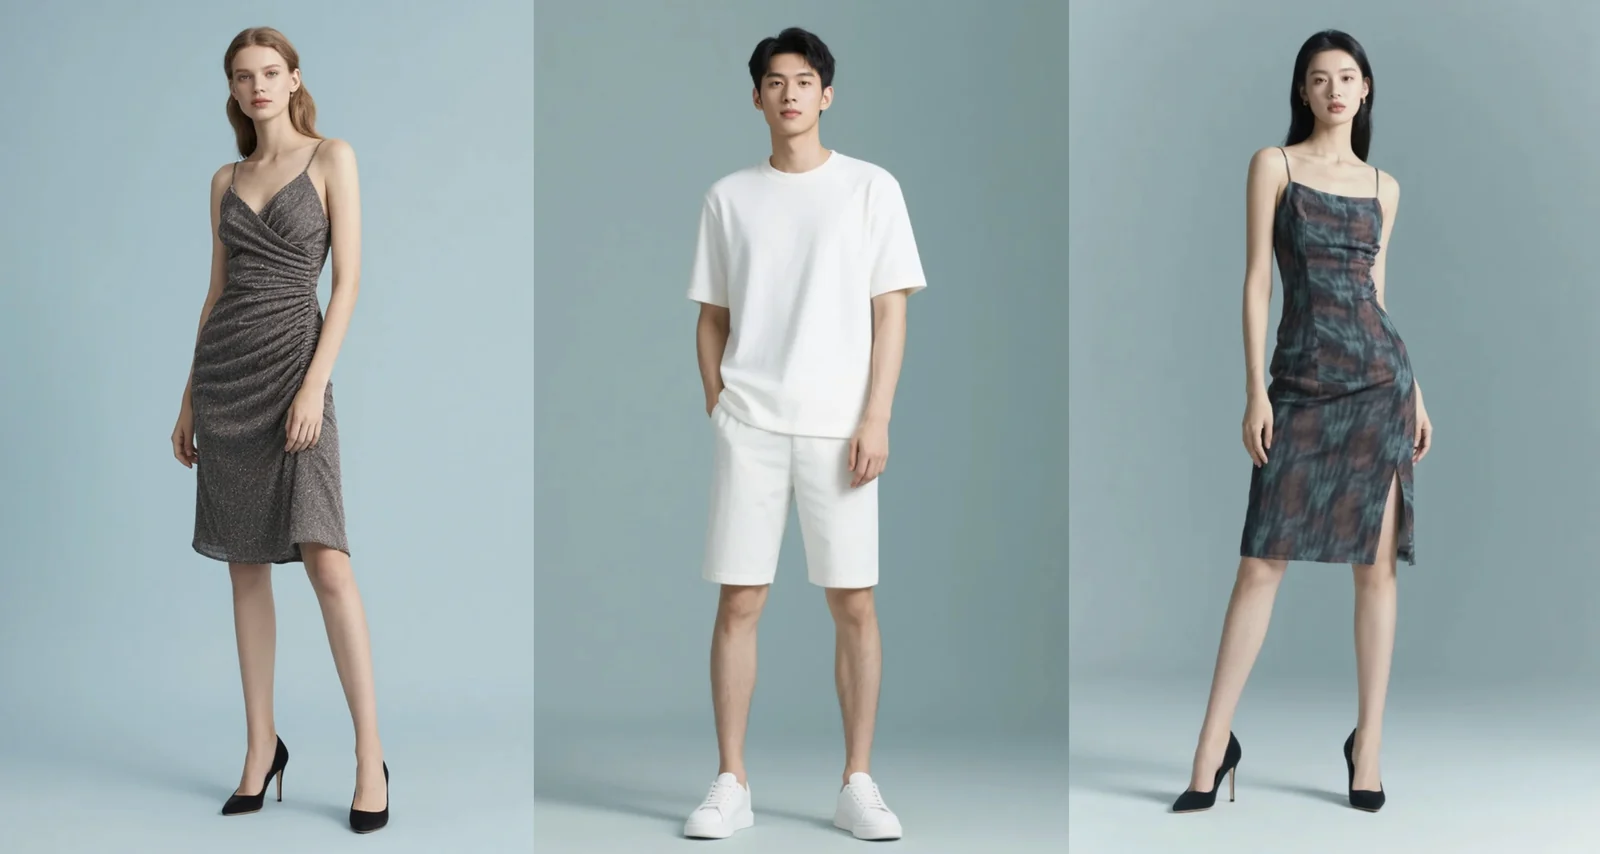
Overview
Virtual try-on must interpret the garment boundary, model pose, body area, and visual details from the source images. Good lighting and framing reduce ambiguity before generation begins.
You do not need studio equipment. A phone camera, even light, a simple background, and careful framing are usually enough.
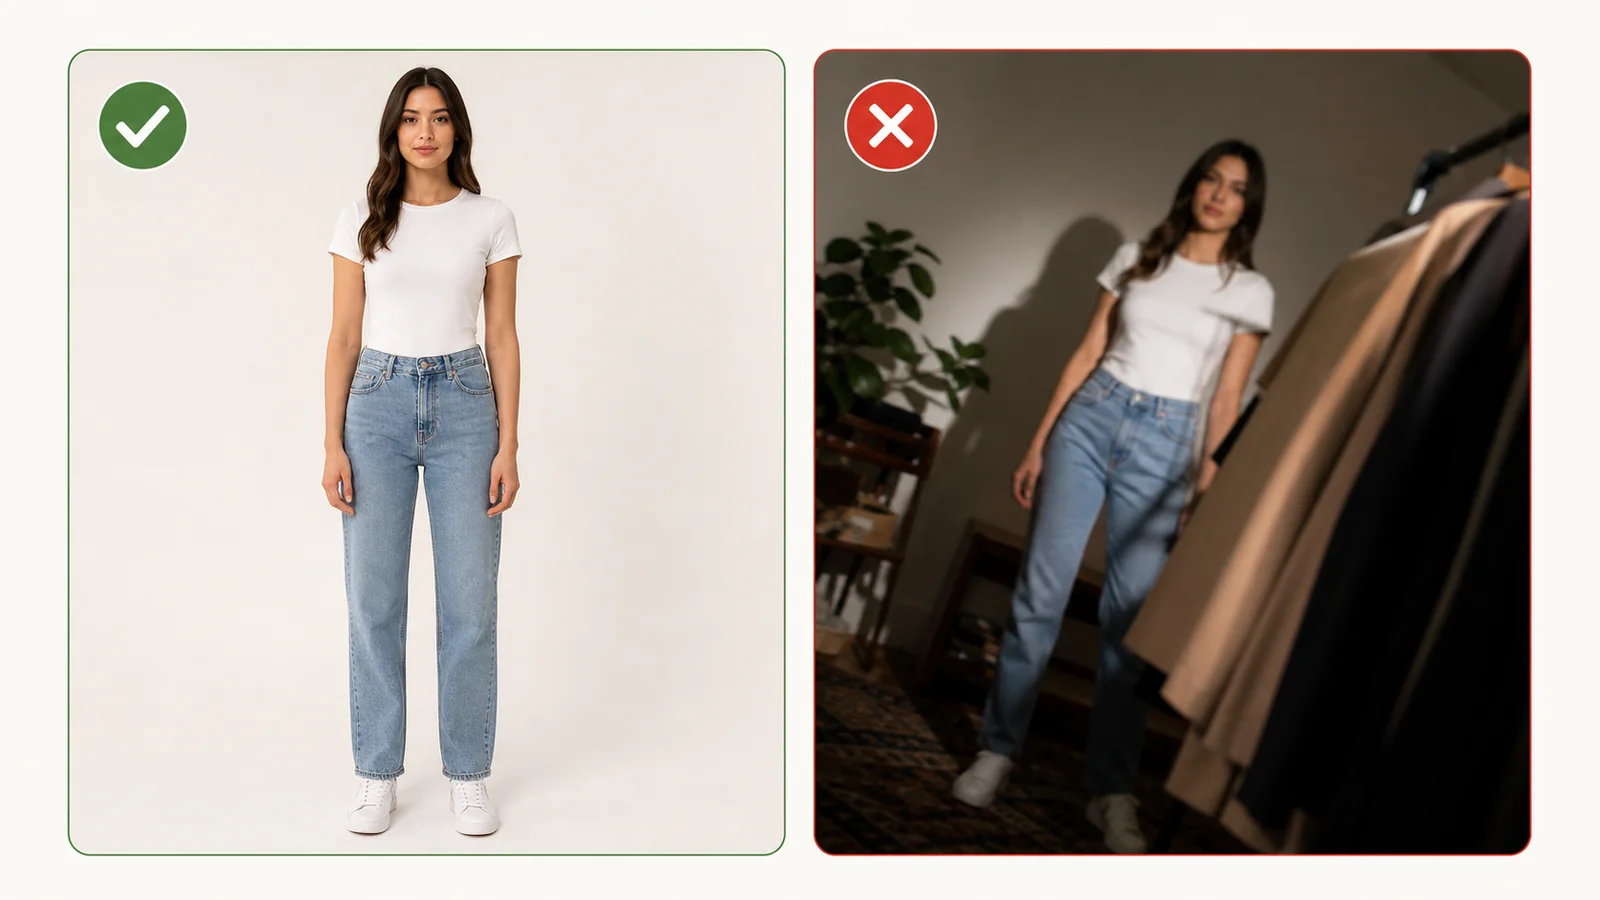
Guide visuals
Check the basics before upload: front view, full body, clean background, no heavy shadows, and high resolution.
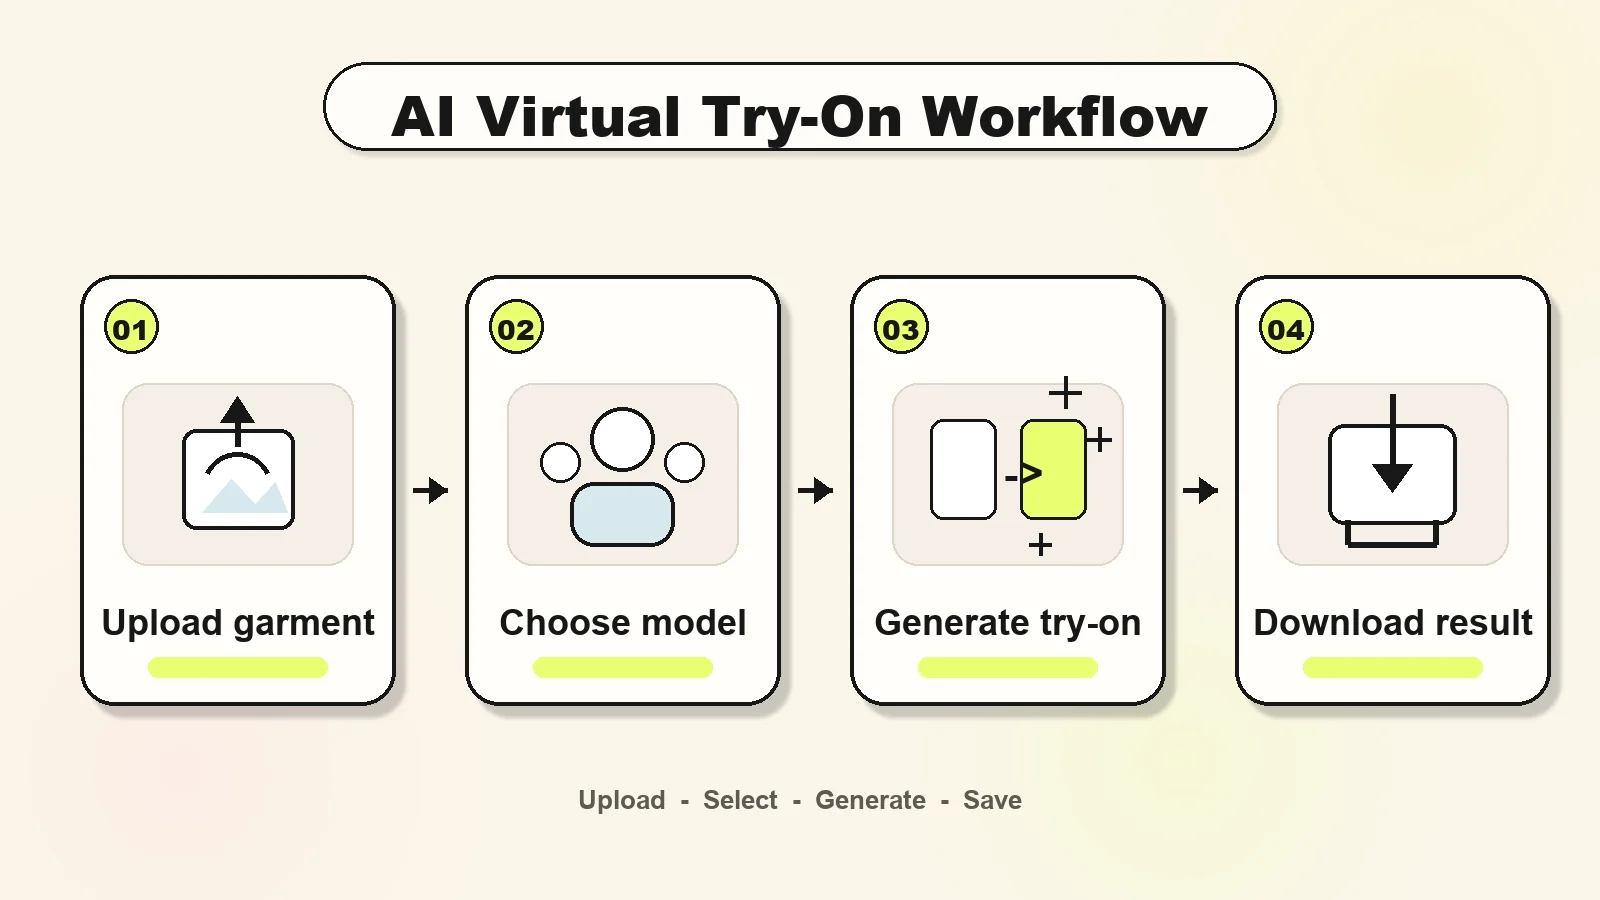
Follow the simple flow from garment upload to model selection, generation, and downloading the result.
Why it works
Keep sleeves, neckline, hem, and side edges inside the frame and avoid covering them with props.
Avoid deep shadows, mixed color temperatures, strong filters, and glare that hide fabric detail.
Use a front-facing full-body image with visible arms and legs and minimal overlap.
How it works
Create separation between the garment or person and the surrounding scene.
Keep the subject sharp, upright, fully visible, and large enough to inspect.
Confirm the image format, file size, orientation, and important visual details.
Use cases
Lay the item straight, remove distracting objects, and keep the complete outline visible.
Use a direct angle and avoid clips, hands, or display elements that hide the clothing.
Choose a clear, appropriately clothed full-body photo that you have permission to use.
FAQ
No. A simple, uncluttered background is usually sufficient.
It may work, but a direct full-body photo without a phone covering the torso provides clearer information.
The current Fitroom interface accepts PNG, JPG, JPEG, and WEBP images up to the displayed size limit.
Start now
Upload a garment, choose a model, and create your first AI virtual try-on in seconds.
Start Free Try-On